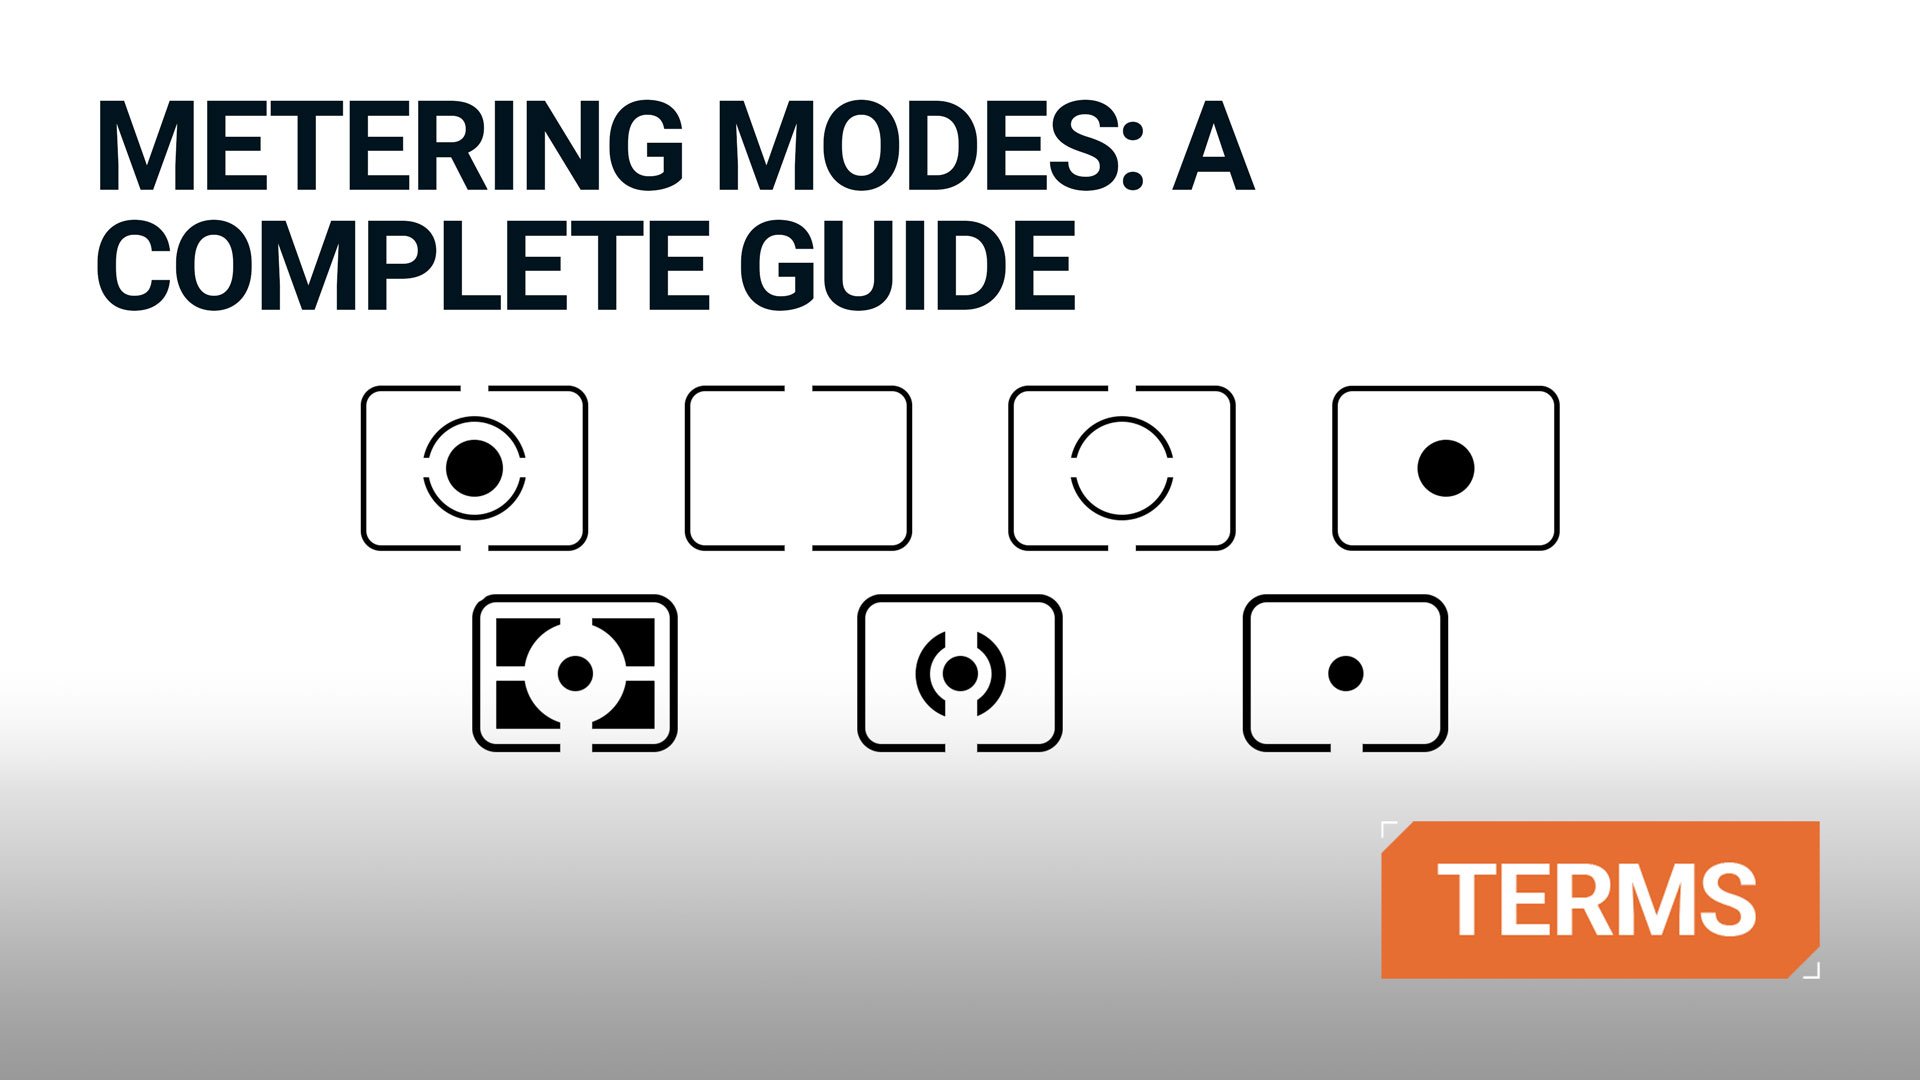
Metering modes: a complete guide
Aug 20, 2023
Daniela Bowker
Daniela Bowker is a writer and editor based in the UK. Since 2010 she has focused on the photography sector. In this time, she has written three books and contributed to many more, served as the editor for two websites, written thousands of articles for numerous publications, both in print and online, and runs the Photocritic Photography School.
Share:
Metering modes: a complete guide
Aug 20, 2023
Daniela Bowker
Daniela Bowker is a writer and editor based in the UK. Since 2010 she has focused on the photography sector. In this time, she has written three books and contributed to many more, served as the editor for two websites, written thousands of articles for numerous publications, both in print and online, and runs the Photocritic Photography School.
Share on:
When you take a photo, the camera recommends some settings for you. They do it with a built-in light meter. And while that light meter is typically right, you can help it by choosing the right metering mode to evaluate exposure. Or in other words, selecting the correct metering mode will tell the camera how to calculate the right amount of light for a photo (you know, shutter speed, Aperture, and ISO).
Learning how to select the right metering mode, may add a bit of complexity to taking a photo, but as you grow as a photographer, you’ll realize this: Getting a good light reading is how you get good exposure, and a good exposure is the basis for all photography.
In this article, we’ll be looking at how your camera measures light, the different metering modes it offers, and which metering mode to use for different photos.
[Learn Photography: Aperture | Shutter Speed | ISO | Exposure Triangle | White Balance | Panning | Vinneting | TTL | More…]
Table of contents
- The different types of metering modes
- Evaluative (or matrix) metering mode
- Center-weighted metering mode
- Spot metering mode
- Highlight priority
- Partial metering
- How to change metering modes
- Why do you need to change metering modes?
- Overriding the default metering
- Metering modes and light meters
- A quick word on exposure compensation
- FAQs
The different types of metering modes
Most modern cameras offer at least three types of meeting modes: Evaluative (or Matrix), Spot metering mode, and Center-weighted metering mode.
Each metering mode evaluates the scene in a different way, and each metering mode will recommend a different exposure.
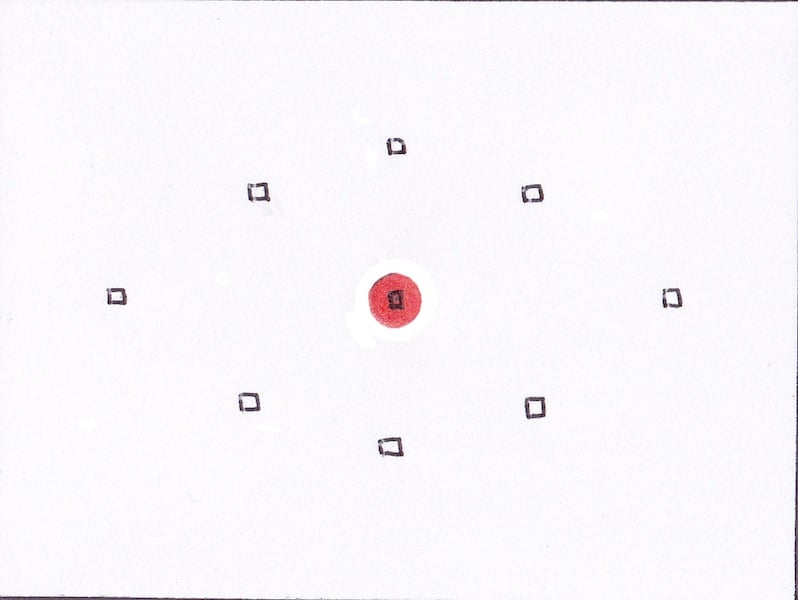
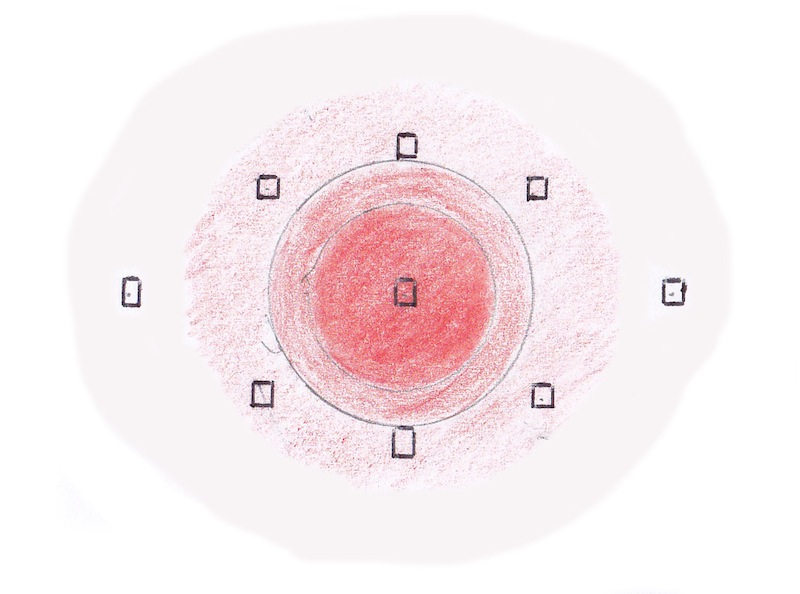
The three illustrations below show you the area where the camera measures the light in each of those modes. (If you want to read more about the technical side of metering, you can scroll down to the end of the article).
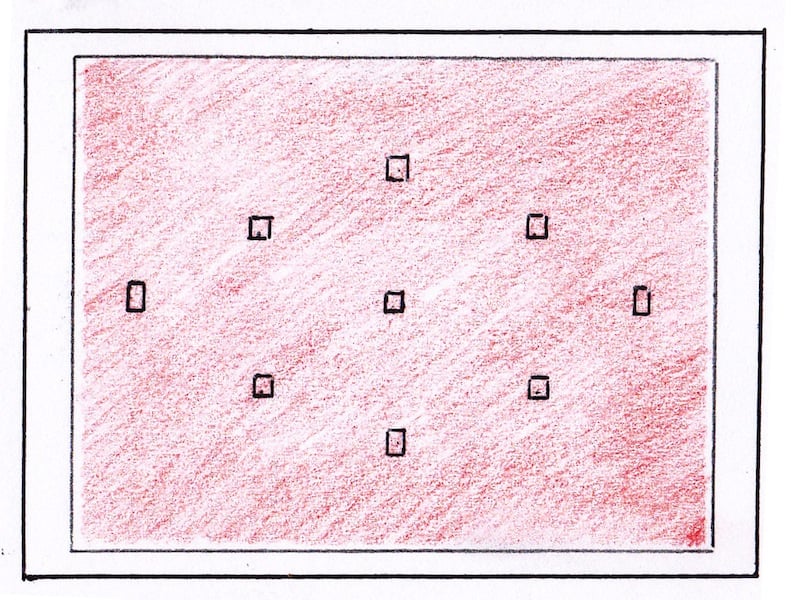
Evaluative (or matrix) metering mode
Would it surprise you to learn that different camera makers give different names to the same feature? No. I didn’t think it would.
Camera makers don’t really call it ‘intelligent metering’, but that’s what it is. It would make a good overall name for it.
Intelligent metering divides the photo into multiple zones. It then takes a light reading from each of those zones. The zone where you focus gets more weight. The camera then meters the other zones with less importance, and the combined value is the exposure that the camera will recommend.
This is the default metering mode for all camera makes.
- Canon calls this evaluative metering.
- Fujifilm, Pentax, and Sony describe it as multi-mode.
- Nikon calls it matrix metering.
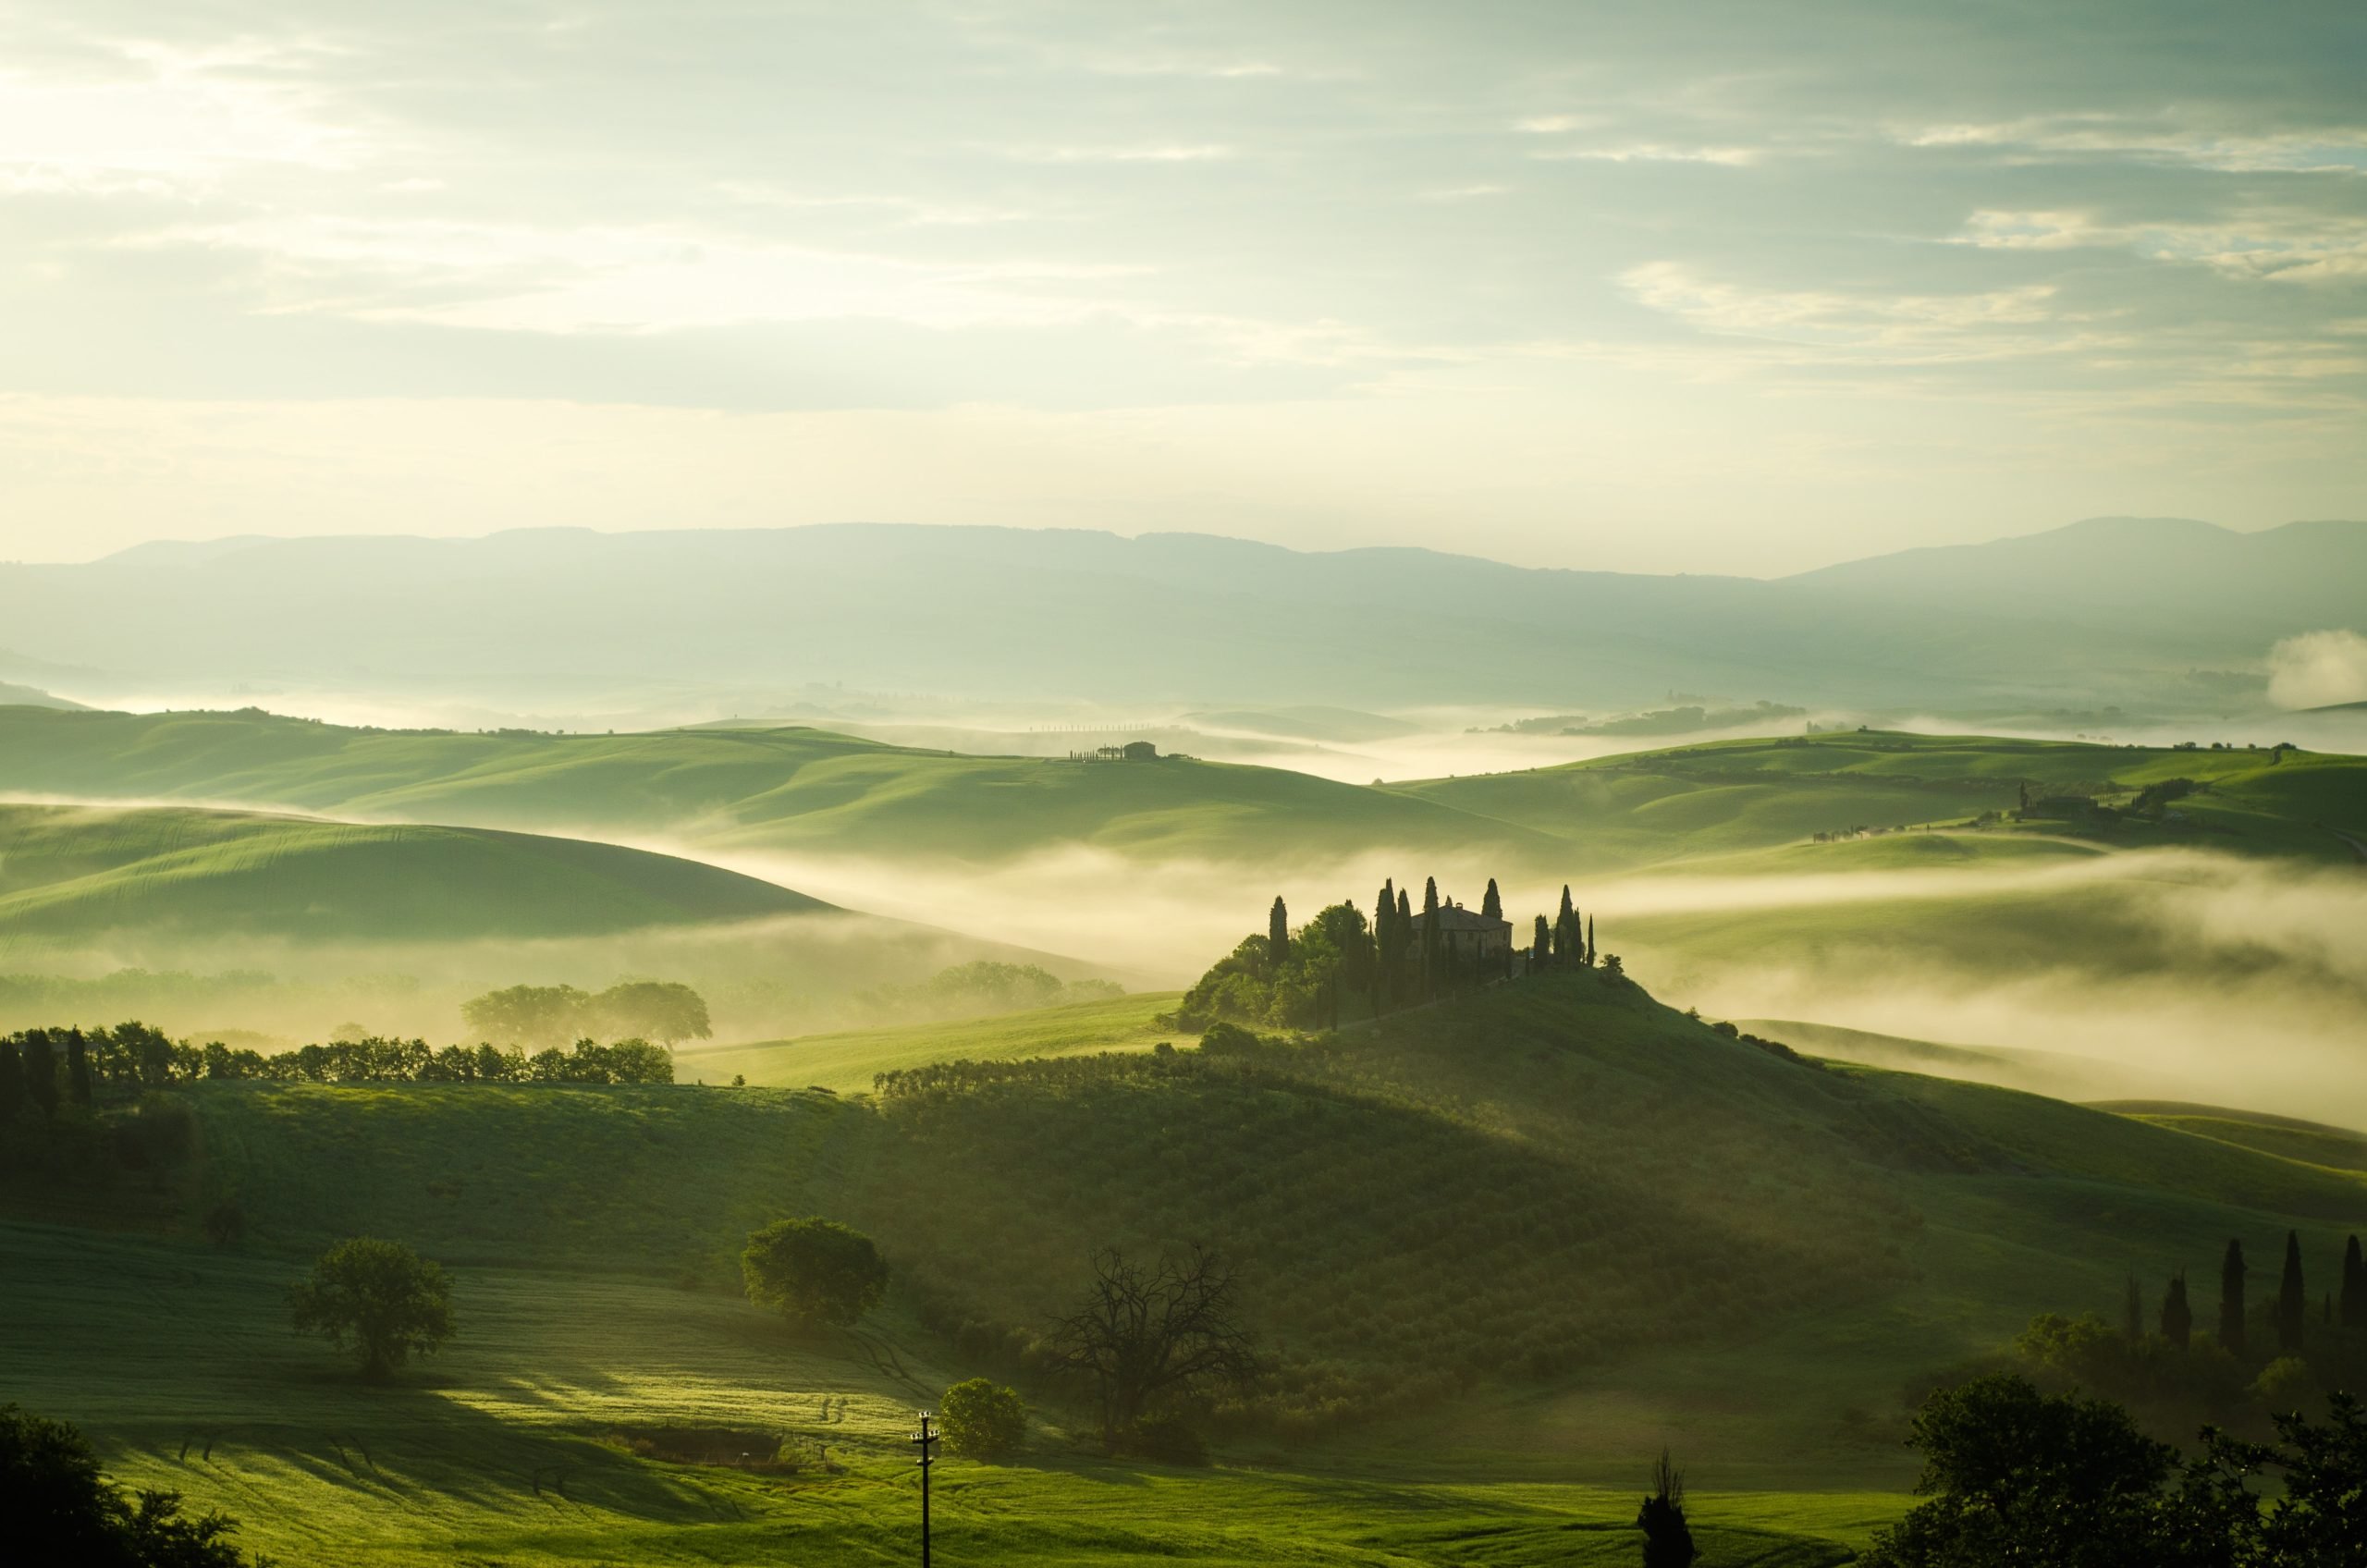
As the default mode, it works in most situations. It’s especially good for landscape photography but struggles when there are strong variations in brightness.
Center-weighted metering mode
If you use UK English, it’s centre-weighted metering, but it doesn’t change from manufacturer to manufacturer!
This camera metering mode takes its light reading from the center of the frame. It doesn’t matter where your focal point is. This mode works best when your subject is in the middle of the frame and if it’s relatively large, too. As it doesn’t read the light toward the edges of the frame, it works especially well when there is bright light behind your centered subject. Try it for portraits and pet or wildlife photography.
Spot metering mode
Spot metering mode is very precise. It calculates your exposure value based on an area that’s between 1% and 3% of the frame, around the focus point. If you’ve set the focus point somewhere other than the center point, it will use the point you chose. This metering mode is best for scenes with lots of contrast and when you want the exposure calculation to be based on a relatively small area, not the entire scene.
A good example would be if you are shooting the moon. Spot meter on the moon, which is a bright but fairly small subject on a very dark background. This will ensure a good exposure on the moon, while the night sky remains black.
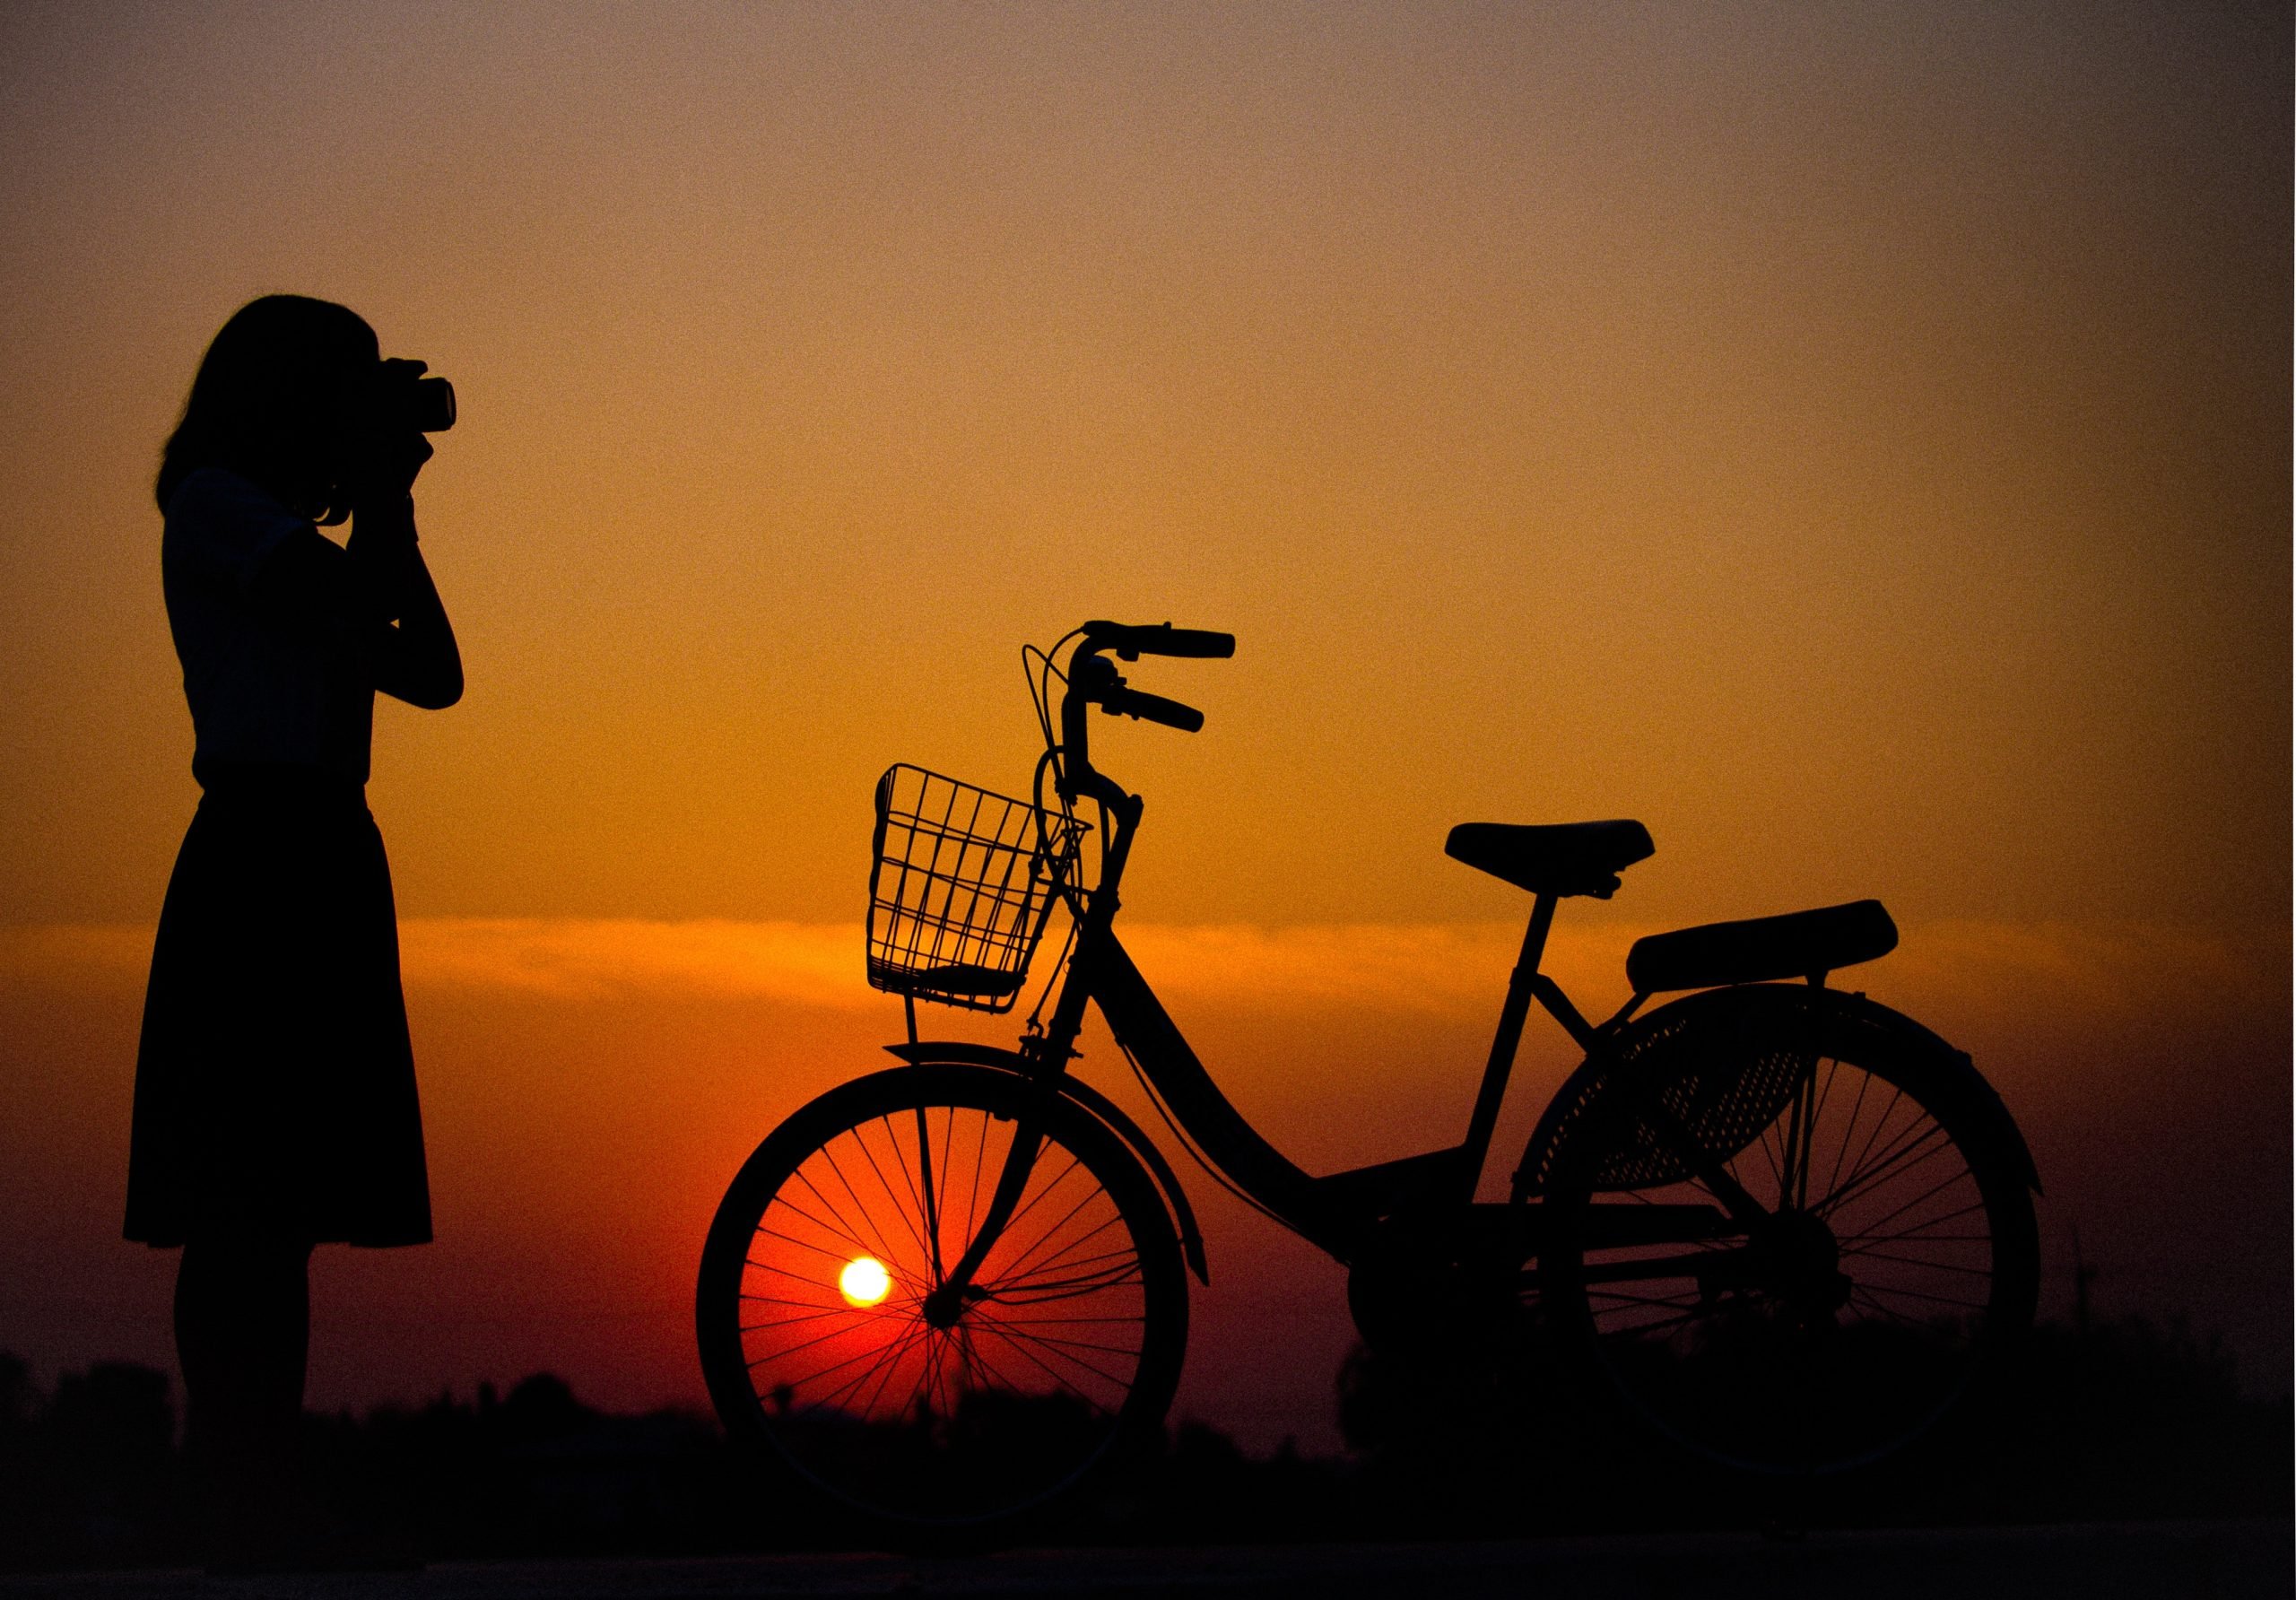
Using spot-metering for silhouettes
When you shoot silhouettes, use spot metering mode to take a light reading for the background. This way, the background will get the correct exposure, and the subject will remain perfectly black. Make sure that subject is sharp by using the focus-and-recompose method. Or you can take a meter reading for the background and dial in those settings to get a good exposure.
The focus-and-recompose method is when you focus on your subject by half-pressing the shutter button. You keep the shutter button half-pressed, and then move your camera to place your subject where you want it in the frame. Then you fully press the shutter button. With the half-depression, the camera remembers the focal point and the exposure value.
Highlight priority
Highlight-weighted metering mode isn’t a standard metering mode. You won’t find it on all cameras. This mode works by protecting the highlights close to your subject. It’s useful if you’re shooting musicians, actors, or dancers on stage, who are in a spotlight.
Partial metering
Partial metering mode is a specific metering mode for Canon. It’s very similar to spot metering but takes a larger area as your metering target. While spot metering reads the light from between 1% and 3% of a scene, partial metering uses between and 10% and 15%. A bit like center-weighted metering, it’s useful if you have a portrait subject with strong light coming from behind them. But while center-weighted metering sticks to the center of the frame, your subject can be in any area of the frame for this to be effective.

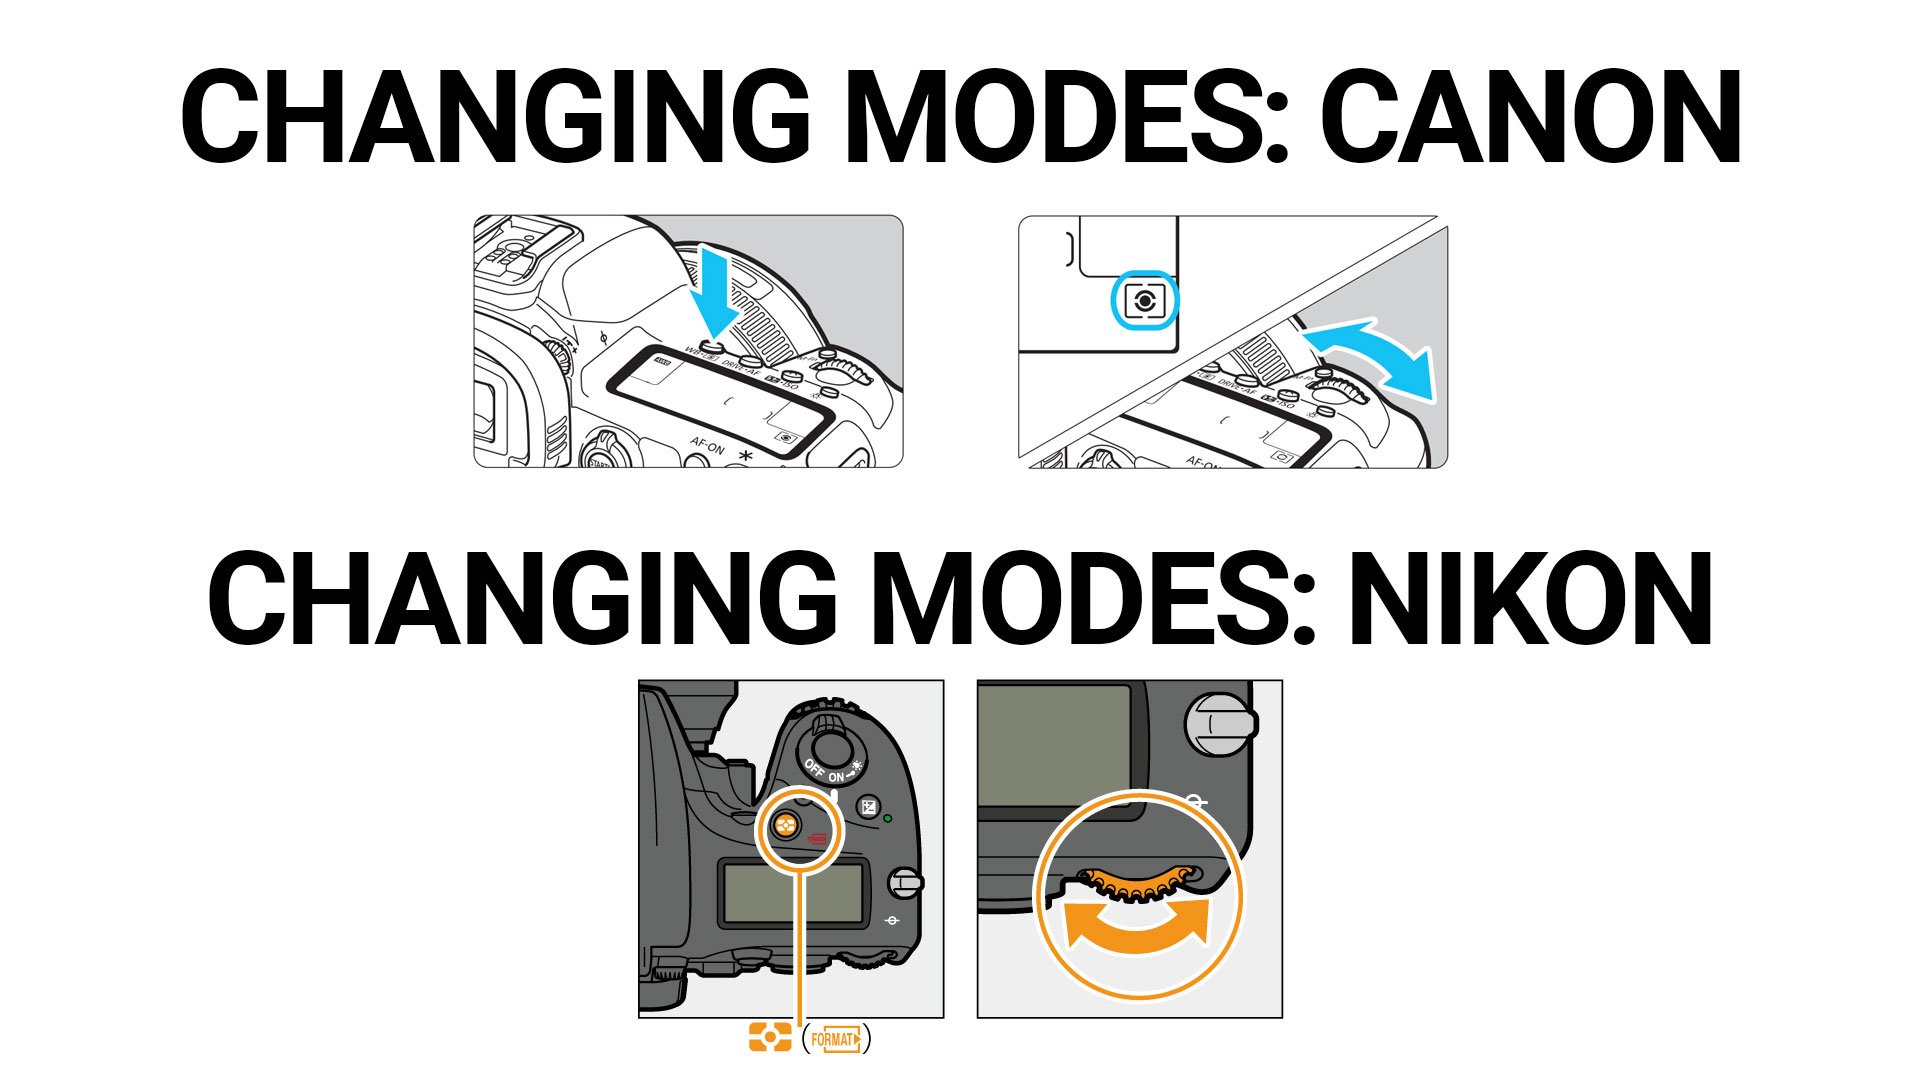
How to change metering modes
Different brands will have different names and slightly different logos for different metering modes, but here are the main ones for Canon and Nikon:
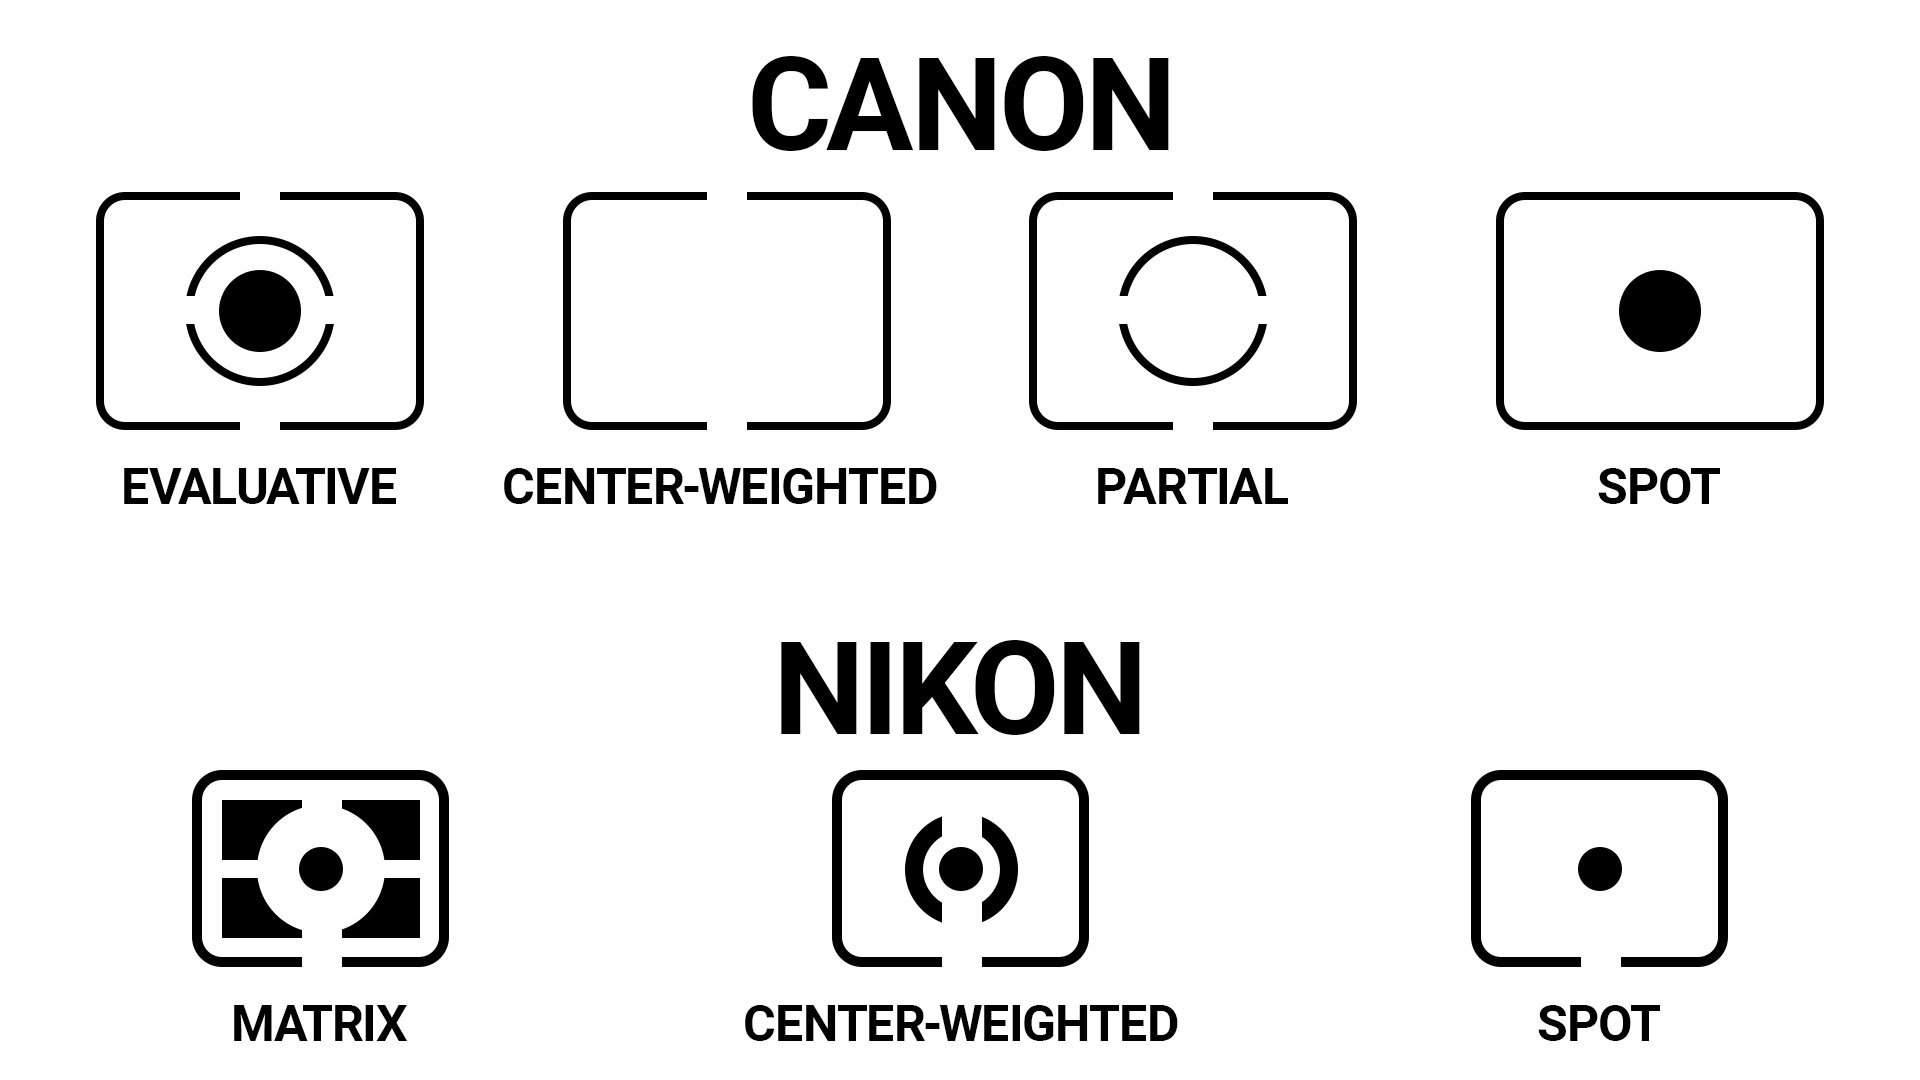
Likewise, for most cameras, changing the metering mode involves pressing a button with the logo of one of the metering modes and rotating a dial. You can find the process for Canon and Nikon below, but it is similar for most systems.
Why do you need to change metering modes?
Your camera recommends an exposure assuming that your scene has the same brightness as 18% grey in all areas of the photo. Or, in other words, the camera assumes you are always shooting a pavement. On a sunny day with a cloudless sky, that would be true. But, this is not always the case. Here are some examples:
- Your subject may be in the shade with the rest of the scene in the sun. You’d typically choose the center-weighted metering mode, to get the right exposure on your subject.
- If you are shooting birds, and want to nail the exposure on the bird, you would use the spot metering mode.
- And, of course, if your scene is relatively balanced, you’d best go with matrix metering.
Overriding the default metering
Your camera takes a light reading when you half-press the shutter button. If you are shooting in shutter priority mode, it will select the aperture based on the ISO and shutter speed you dialed in. In aperture priority mode, you choose the aperture, and ISO, and your camera will determine the shutter speed. But, if you know that you are shooting in non-typical conditions, you can dial in exposure compensation. You tell the camera that it needs to under (or over) expose by, say, half a stop.
If this is not enough, you can always take control of your exposure, no matter the metering mode, by shooting in manual mode. Then you can select all the settings according to the scene and your artistic choices.
Metering modes and light meters
The light meter inside your camera is a reflective light meter. It works by reading the amount of reflected light in a scene. Now, that the camera “knows” how much light there is in the scene, it will recommend an exposure. You can then dial these exposure settings to get a good-looking, well-exposed shot.
That said, the camera assumes a few things here, and the main one is that the scene is just about as bright as middle grey (aka 18% grey). This is not always correct (see our examples above), and you may need to compensate for that. One way is to over or under-expose on purpose. Another is to ignore the light meter in your camera and use a light meter.
A quick word on exposure compensation
If you notice that your camera consistently over or underexposes images according to its light meter, you might have gotten into the habit of dialing in exposure compensation. For example, I’ve noticed that my camera tends to underexpose images a touch. I make up for it, by adding a third of a stop of exposure compensation. It means that according to the LCD on my camera, I’m always ‘overexposing’, but in reality, the photos look right. You can do the same thing if you’re shooting a scene that’s very bright or very dark.
When it’s snowy, your camera is going to “think” that the scene can’t possibly be that bright (it thinks everything is grey, remember?) If you go with the camera recommendation, you will underexpose the scene, and everything will look dull and grey. You can compensate for that by ‘overexposing’ your shot deliberately. You do the reverse for low-key scenes by telling the camera to underexpose the shot. Then the blacks will be black rather than grey.
Even if you’re shooting in aperture priority or shutter priority mode, you can still dial in exposure compensation.
As well as using exposure compensation, you can also adjust your metering mode to help your camera’s light meter get the best reading of a scene and suggest the best exposure settings for you.
Examples of bad default light metering
- If you’re photographing a bride in a white wedding dress, the camera will try and make this dress gray, and the photo can come out too dark.
- Shoot someone in a black dinner suit, and it will look too bright. (Again, the camera is trying to make the suit grey) .
That’s just two instances where your metering might be inconsistent. There are others. But the good news is that you have several ways of making sure you get the correct exposure for your scene.
You can use exposure compensation. You can use a handheld light meter. Or you can try a different metering mode.
FAQs
There are three main metering modes: evaluative (or matrix), center-weighted, and spot.
Your camera will default to evaluative or matrix mode. This mode is good for most types of photos.
Evaluative metering is usually good for portraits.
Use spot metering if you have a bright or well-exposed subject on a dark background.
Landscapes are usually large scenes. If you use the evaluative/ matrix/multi-mode, it should give you the best chance of getting a good exposure.

Daniela Bowker
Daniela Bowker is a writer and editor based in the UK. Since 2010 she has focused on the photography sector. In this time, she has written three books and contributed to many more, served as the editor for two websites, written thousands of articles for numerous publications, both in print and online, and runs the Photocritic Photography School.


Join the Discussion
DIYP Comment Policy
Be nice, be on-topic, no personal information or flames.